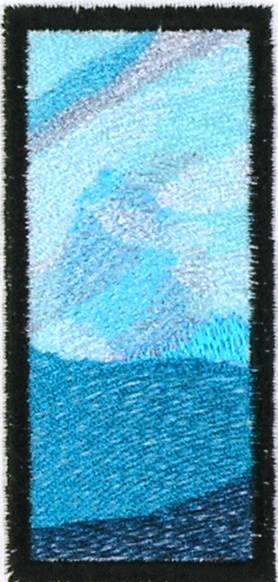
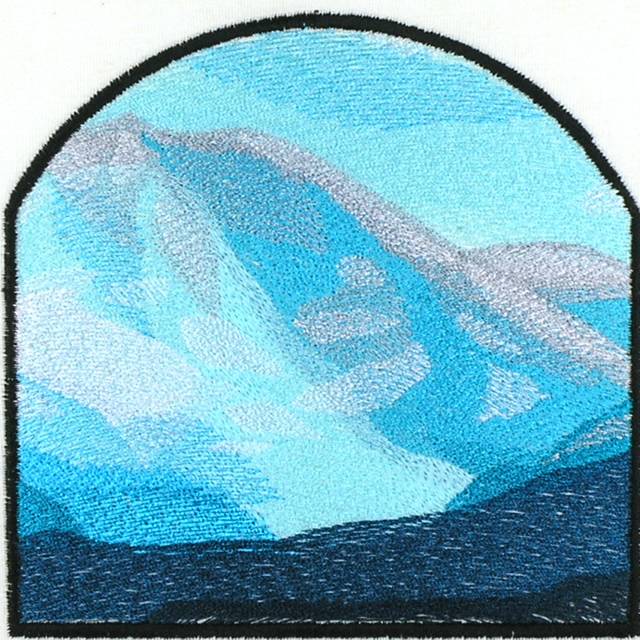
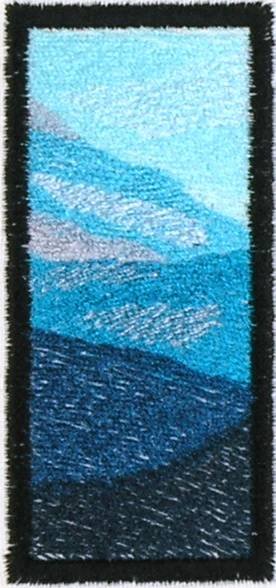
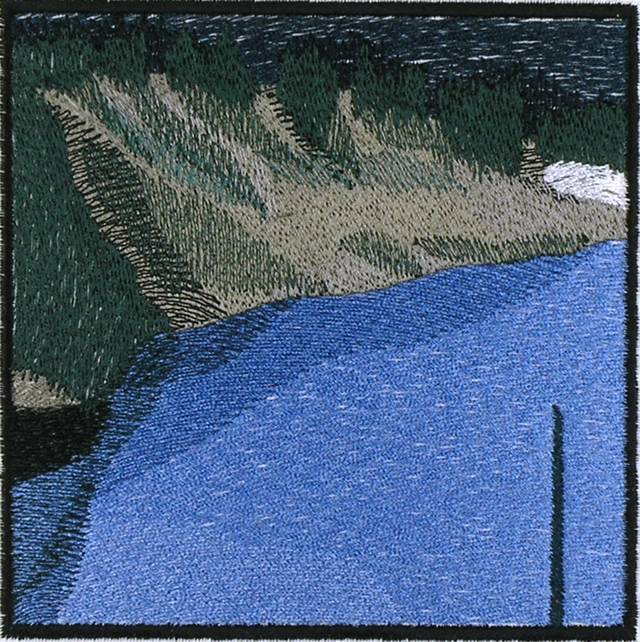
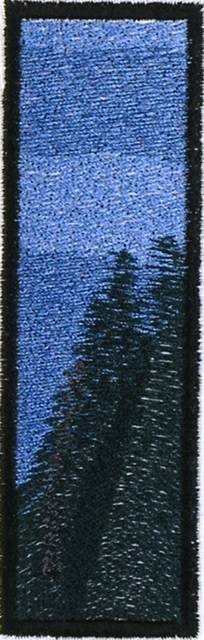
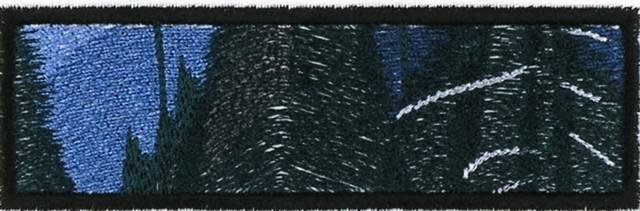
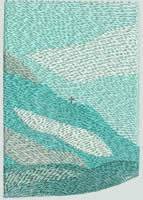
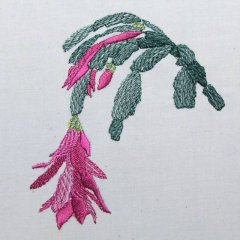
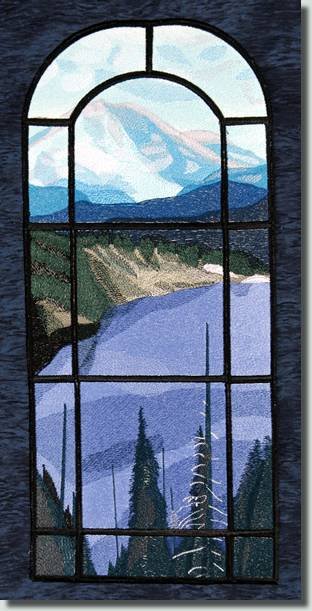
BFC0843 QIH Stained Glass - Mountain Vista
When I saw this all I could think of is *cool, mountain mornings*. This picture is a beautiful way to bring the serenity of the mountains into your home.
The medium set of designs will make a picture 17.6 inches high by 8 inches wide, the large picture will be 21 inches high by 9.6 inches wide and the jumbo will be 28 inches high by 12.8 inches wide.
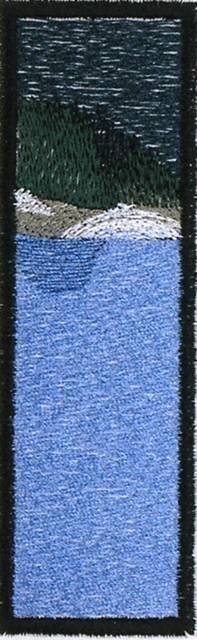
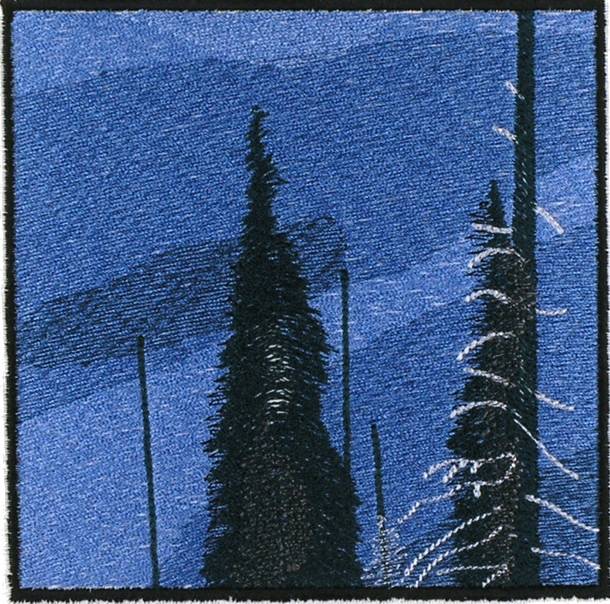
14 Designs each in 3 Sizes MLJ Check Sizes
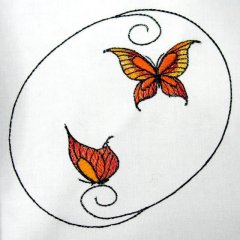
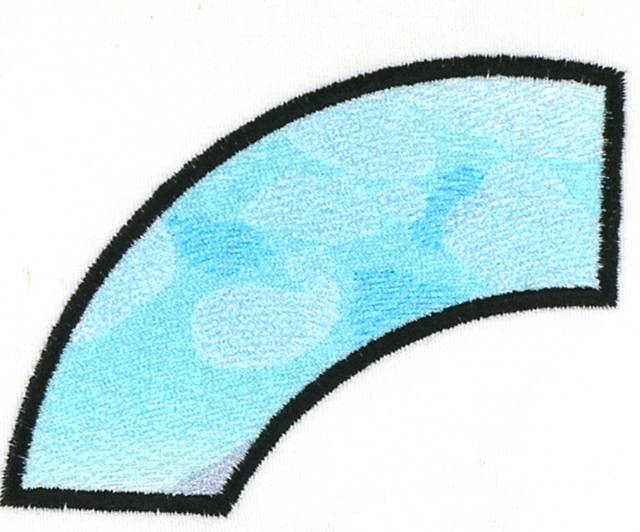
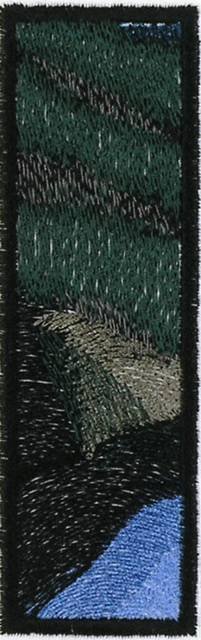
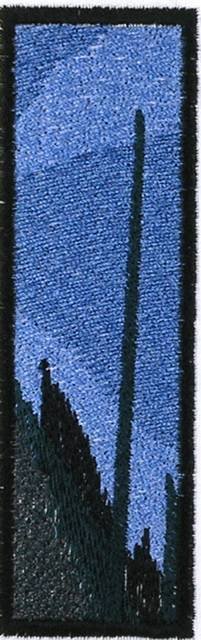
< Free design is the last image on the left.
Free Design Click to Download
All of our machine embroidery designs will come in any or all of the following hoop sizes: (You will receive links to download the size(s) you purchased and all formats)
Small for 4 x 4 inch hoop, Medium for 5 x 7 inch hoop, Large for 6 x 10 inch hoop, and Jumbo 8 x 12 inch hoop.
Each design description above will state the sizes the set comes in: S, M, L, J standing for Small, Medium, Large and Jumbo. These will be written SML, meaning Small, Medium and Large, or perhaps MLJ, meaning Medium Large and Jumbo, or even SMLJ meaning the set comes in all four hoop sizes
Formats Available: ART3, ART4, DST, EXP, HUS, JEF, PES, VIP, XXX
If your format is not listed email us. <we can not produce SHV format>
-
Select a sizeComplete (all sizes below), Medium (for 5x7 inch hoop), Large (for 6x10 inch hoop), Jumbo (for 8x12 inch hoop)
Product questions
-
Oct 12, 2017, 08:59 AM
I've never attempted anything like this before. How difficult is it to stitch together. Does the design include detailed instructions? Is there a conversion for Isacord thread
Oct 12, 2017, 09:07 AMHi Lori - Our Stained Glass designs are the easiest of our large embroideries! You create each section as you would stitch any design. then you trim the excess fabric and just zig zag stitch the sections together. Full instructions are included and we're always here if you have questions as you go along. We weren't including Isacord in our conversions when we did this set, but when you are ready just email me (you can use the contact page) and I can send you a link to convert to Isacord.
Thanks! Suz -
Jul 15, 2016, 06:28 PM
After reading the instructions to this design, I'm wondering how you chose to hang this design on a wall? Do you have any suggestions for us? Thanks!
Jul 15, 2016, 10:18 PMHi Gina, I use OOK Artist nails to hang most of my wall hangings. They are a fine nail with a very small pretty gold and black head. They make a tiny hole in the wall that barely shows, but can be touched up with a tiny dab of paint or marker. Search for OOK 50614 Blue Steel Pro Nails Tidy Tins on Amazon to see what they look like. I put one in each corner of a wall hanging. Antoher thing we use here is called gaffer tape. Photographers use it to mount things to take pictures. Rick uses it for the photos sometimes, so I've tried it on the walls. It hasn't hurt either paint or wall paper and I've had things hanging with it for over a year. I just make some loops with it, stick it to the back of the wall hanging and press it on the wall. I don't care for hangers and rods because I have a lot hanging on my walls and it tends to make things look messy. I use them for certain projects where it just looks right for them. Suz
-
Jul 13, 2016, 07:58 PM
What is the best type of fabric to use for this design? What type of stabilizer(s) is/are recommended for this type of project? I want to be sure to eliminate any puckering that could occur if not set up properly.
Jul 13, 2016, 08:59 PMHi Gina, We used regular cotton fabric. You want something with a nice firm weave that doesn't stretch at all. Something like Kona cotton or cotton broadcloth is great. We use two layers of medium tear away stabilizer for this type of designs. If you tend to have trouble with puckering, I recommend wrapping your hoops. Let me know if you need more information about this.
Thank you - Suz